![]() If you’ve started here, I suggest you go back and read the introduction and make sure you have your complete materials list. Once I had everything I needed, I was ready to get started with the construction of phase 1 – building and assembling the components to have a working hydroponic system. First things first though, I need to germinate my seeds. So the initial structure I built is a very fancy box for making seedlings.
If you’ve started here, I suggest you go back and read the introduction and make sure you have your complete materials list. Once I had everything I needed, I was ready to get started with the construction of phase 1 – building and assembling the components to have a working hydroponic system. First things first though, I need to germinate my seeds. So the initial structure I built is a very fancy box for making seedlings.

Overview of the steps in this entry –
- Build Laundry Hamper
- Hang Light on Pulleys
- Hang Hydro/Thermometer
- Wrap Walls of the Hamper with Tarp
- Calibrate pH Meter
- Balance Water pH and Nutrient Concentration
- Start Seed Germination
- Plant 4 seeds in each pod
- Place pods in germination tray cells
- Add water/nutrient mix to the tray
- Combine trays
- Set outlet timer
First steps were building the hamper; hanging the light on pulleys; and hanging the hydro/thermometer. These initial steps were very straightforward. The Argot laundry hamper is one of the simplest pieces of IKEA furniture I’ve ever had to build. Not much to detail about that process.
 As for the light and hydrometer/ thermometer, there were a couple of things to keep in mind. One, the light is on a pulley system for a reason. The plants will reap the largest benefit from this energy source if the light is very close to the plants; however, during the plants’ germination and infancy, they can be very sensitive. So I kept the light some at least 6 inches from the plants until they moved beyond the seedling phase. It was important to wrap the cord of the light around back of the frame so it could easily be plugged in later. And two, the hydrometer/ thermometer has interior and exterior sensors. I found that 70 degrees was an ideal internal temperature for germinating the seeds. The humidity matters less at this stage as long as the seed pods are moist. There is a second thermometer sensor on a wire that you’ll want to keep somewhere on the exterior of the system once wrapped in the tarp.
Once the structure necessary for the germination phase was  built, the time came to wrap it. This serves two purposes – one, maximizing the intensity of the light within the structure and two, keeping the light inside the structure so it doesn’t make my apartment glow purple. Since I started with a 10′ x 10′ tarp, I could cut two strips – one a strip about 2′ wide and 10′ long for covering the sides, which I secured to the structure first, and a second one about 1.5′ wide x 10′ long to cover the front and back. The tarp was secured to the structure using adhesive strips of Velcro, attaching the tarp to the structure along the outer frame. The Velcro also allows me to get access to the inside of the structure with ease.
 At this point my fancy box for germinating seeds was ready. Next I needed to prepare my balanced nutrient solution. I started with 2.5 gallons of distilled water; added about 12.5 milliliters of Dyna-Grow 7-9-5; and then I waited about an hour. During that time, I began to calibrate my pH meter, which by following the directions on the meter only took a moment.

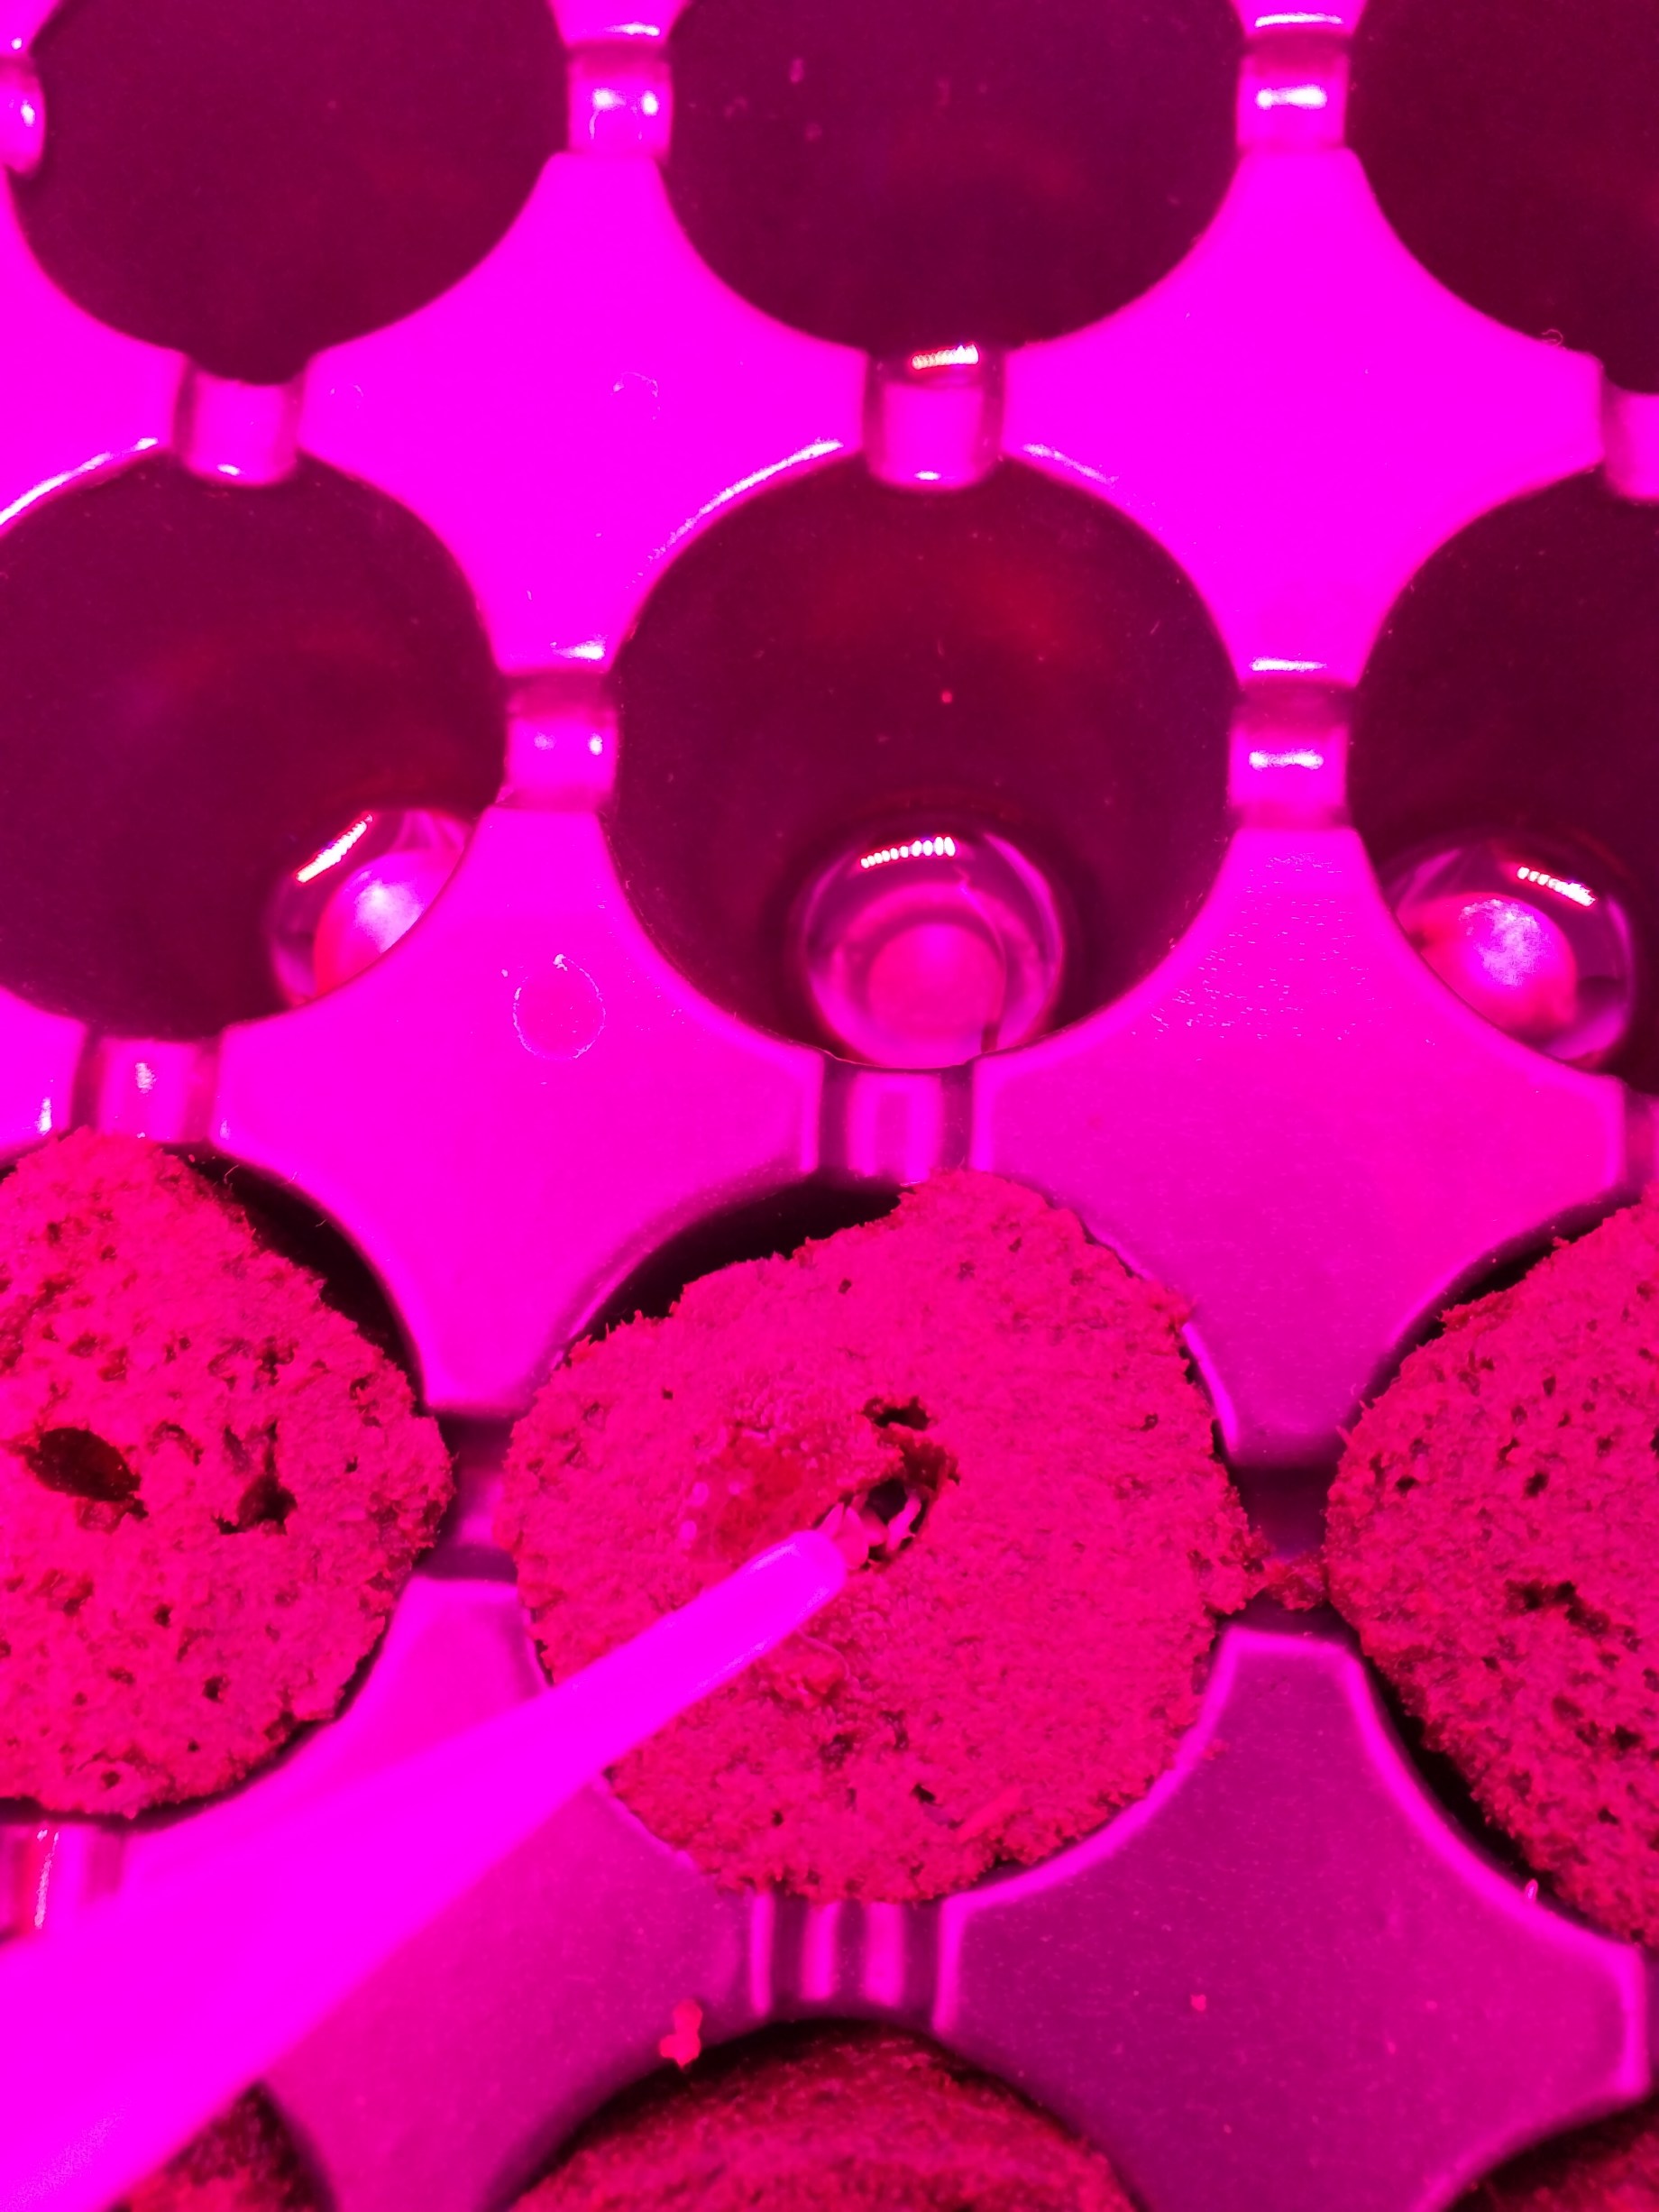
Then I started planting my seeds in the Rapid Rooter pods, placing  about 4 seeds in each one. I have 6 different herbs that I’d like to grow – basil, cilantro, dill, parsley, sage, and rosemary. These all germinate at different rates and with varying degrees of success, so I planted 4 of each, using 24 pods and labeling each row. I then checked the pH of my nutrient solution and added some pH UP and pH DOWN until I got to a pH of 6.0. These pH balancing chemicals take a while to bring the solution to a steady pH, so after adding no more than 10-15 milliliters of either one at a time, I would shake the solution and then wait about 2 hours.
 Finally, I was ready to let nature take the wheel. All I had to do was put the nutrient solution into my germination tray; place the tray in a secure spot inside my fancy box; and set the outlet timer. I used a manual timer, which meant to set it all I had to do was designate how many hours I would like the outlet to be off. I chose 8 hours of night, so that the timer would coincide with my sleep cycle and save some money on the electricity bill; however, increasing the amount of daylight can increase the rate of growth. The simulated hours of night are important though. At night, plants continue to burn through nutrients to grow and the plants use this time to flower.
After a few days, my first seedlings began to sprout……

